DIY Mini Gum-Ball Machine

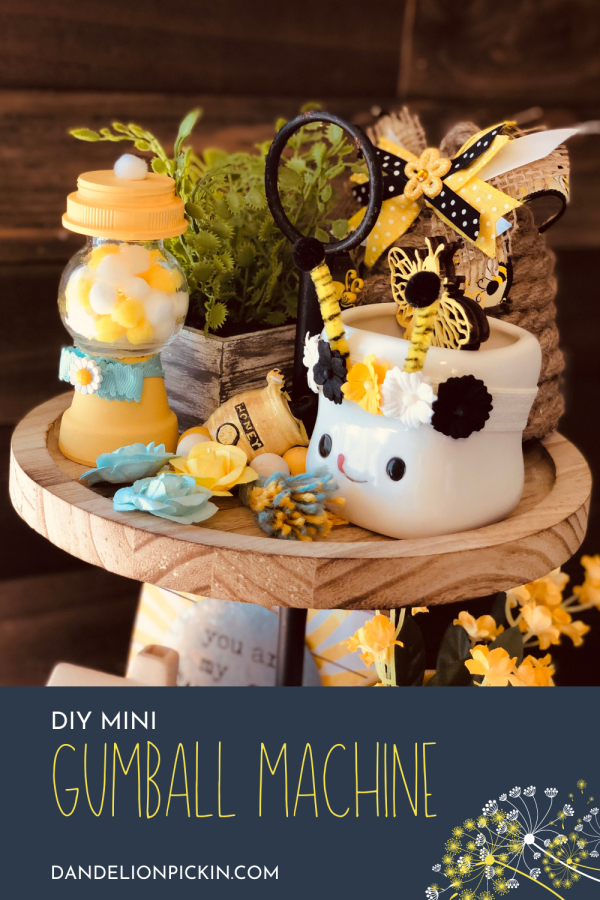
In just a few simple steps, you can create these adorable mini gumball machines. Small flower pots can be used for the base, and a clear ornament filled with pom poms can be used for the top. Being so simple, this craft can easily be done as a group activity as well. This is an excellent choice for a Carnival or Arcade Theme. You could even make these and give them as gifts!

TO MAKE YOUR MINI GUMBALL MACHINE, YOU WILL NEED THE FOLLOWING SUPPLIES:
STEPS:
- I used two coats of paint on the flowerpot and lid. Depending on your color selection, you may require a third coat – allow each coat to dry properly before doing another one.
- To keep the small glass jar from falling off the pot, I used hot glue and e6000 glue.
- For a handle, I used a small pompom, but anything would work.
- I made a bow out of the coordinating ribbon and added a daisy for some extra cuteness.


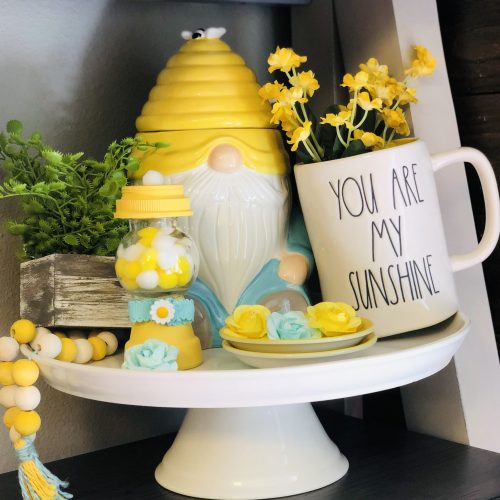
As you can see, I used this adorable little spring decor item on a small cake stand with a couple of other coordinating décor pieces, and I adore it.
To match your decor, you can make this DIY with any size flower pot, a jar or even a fishbowl.
The colors used make me happy, and I hope you can try this DIY and smile every time you look at it. This gumball machine would go perfectly with the Spring Flower Trio, which you can find here.<br><br>
It’s simple and enjoyable to make it your own for any holiday and any décor. Make a note of it and pin it where you can find it later. A detailed video is also available here.
PIN IT!!


No comment yet, add your voice below!